Equipment needed for this installation:
- Trim tool kit
- 8mm socket
- 10mm socket
- Isopropyl alcohol or other equivalent safe alcohol-based solution
- Microfiber towel
- Screws for installation (supplied)
- 3M adhesive double-sided tape (supplied)
1. Use a soft pry tool to carefully remove the rivets located underneath the side black splitters.
2. Remove the M8 (8mm) or M10 (10mm) hex bolts along the front underside of the bumper.
3. Unscrew the upper part of the original black splitters; you may need to remove your wheel and fender liner to access this bolt.
4. Unclip the original side black splitters from the bumper and remove the small white holder from its outer edge.
5. Transfer the white holder from the original splitters to your new carbon fiber front lip.
6. Prepare the lower bumper and under surface by cleaning with an alcohol-based solution and a microfiber towel.
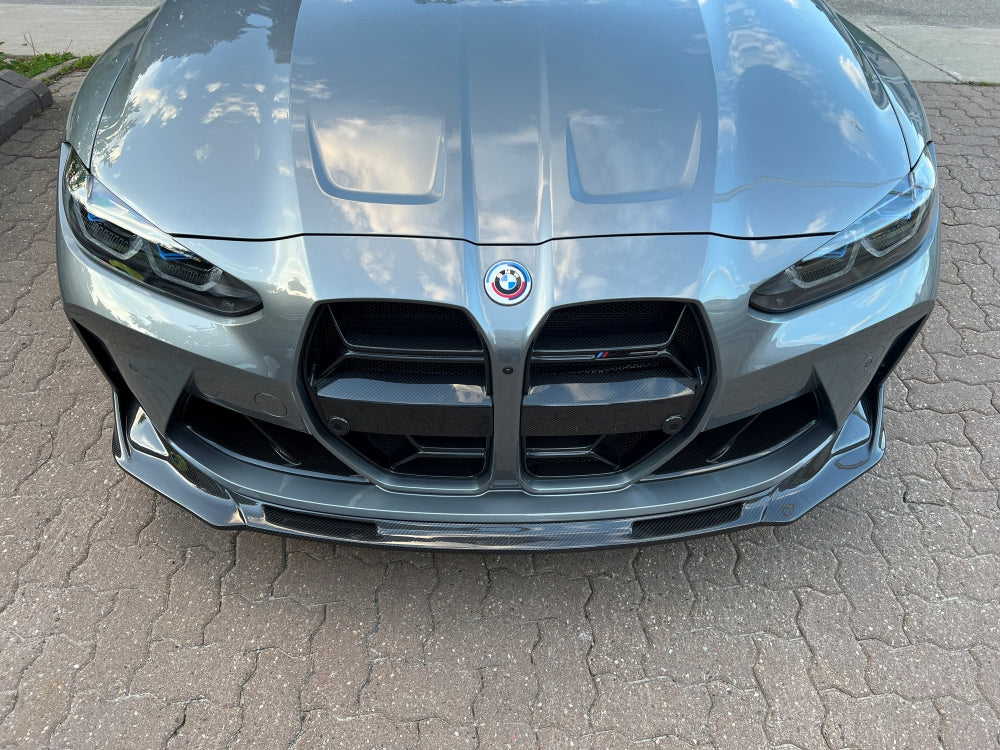
7. Place the front lip onto the bumper and conduct a test fit before securing it.
8. Use adhesive tape to carefully attach the lip to the bumper.
9. Secure the front lip in place by partially tightening the new screws.
10. Complete the installation by fully tightening all screws to securely affix the lip to the bumper.
If you'd like to be featured on our website or social media pages, or if you'd simply like to give us feedback, please email us at info@vescaa.com